April 22, 2014

Vintage Couture Tag by Mel Connell


Welcome back everyone. 
Today I have an Art Tag I created using lots of the Couture Creations goodies. 
You will need either a white or manilla tag, some white cardstock, water reactive inks, brown ink, some embellishments and all  the Couture Creations goodies you can possibly put on it. 


Start by ink the entire surface of your tag. I used two colours but you can use as many as you want. Flick some water on it to active the inks and get the water stained effect. 


Using a Couture Creations finger dauber, ink with brown all around the tag to get a worn vintage look. Run your tag through your embossing machine using an embossing folder, I used the Couture Creations Sew Sew Sew embossing folder. Use your dauber and brown ink to highlight the raised embossed pattern. 


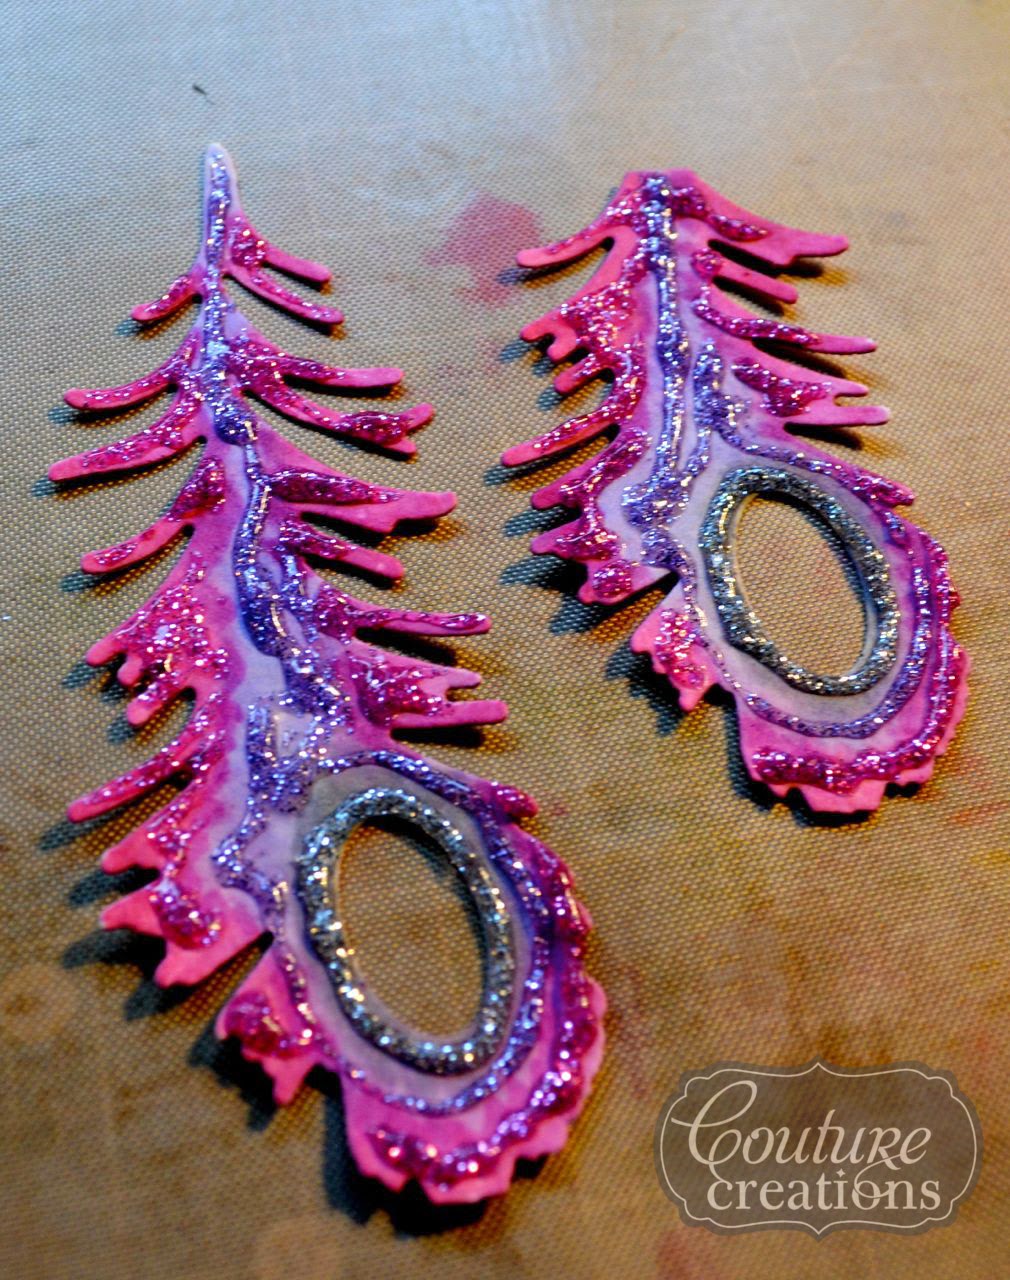
Using the Couture Creations Peacock delight die cut two feathers from white cardstock. If you don't have the Peacock delights die, any of the Leaf/branch or other feather dies from Couture Creations will work just a well. I used some water soluble markers to colour the cardstock, but again crayons, inks and ager colour pencils will work just as well for this also. I chose three colours Pink, purple and silver. One the car stock is coloured add a few squeezes of your Glitzin Glamour glitters over the top. 

Use your Couture creations embossing stylus to spread out the glitter glues and blend them into each other. Set these aside to dry. 


I cut a few Ruler prints from my Couture Creations Sew Job patterned Paper pad, and gathered some embellishments. Don't for get your glittered Peacock Delight feathers. Layer these up on your tag as desired and adhere with your Couture Creations 3D glue dots and high tack foam tape. 

As a final touch, add some highlights with your Glitzin Glamour Glitter and sprinkle around some Couture Creations Gems or Pearls. 

Thanks for stopping by to have a look at this tag project, I would love the hear if you made one of your own inspired by this. You could always show us your take on this at the Couture Creations Facebook page. We'd love to see it. 



April 02, 2014

Love by Mel Connell

Welcome to my very first blog post as part of the 2014 Couture Creations Design Team. 
Firstly I want to thank the Panel for choosing me to be apart of this adventure over the next twelve months, and i am so thrilled and excited to be working along side Kerrie and all the other ladies on the team this year. 

So when my Design Team kit arrived I was overwhelmed and delighted with my box full of goodies and had a hard time deciding where to start. So I went with what I loved first. I love a doily, and I love me some snow!


I pulled out some white card stock, my Couture Creations Doily die, a sheet of printed paper from Couture Creations Sew Jo 12x12 paper pad and got to work. 

Cut the printed paper down to 11.5 inches squared and distress the edges. Adhere this into the centre of your card stock with even edges all round. 

Cut your self 4-6 doily's out of white card stock. Use your Couture Creations embossing stylus to help pop all the little bits out of the centres. 

Squeeze out a bunch of the Crystalina Glitzin Glam and use a paint brush to paint this over the enitre surface of your die cut Doily's. 


Pop a bunch of the Couture Creations 3D Foam Mini Dots on the backs of all your Doily's.

Using my Glamour Days Classical die I cut myself one from heat shrink plastic. Don't forget to pop all the centres out and punch a hole at the top for a jump ring. Use your heat tool to shrink the plastic down to size. 


You can see that I have added a jump ring and a bead and included it in a cluster of embellishments in the bottom right corner of my layout. 


 Matt your photos and gather a small collections of embellishment together. 


I added my die cut doily's to my background paper, then added my photos over the top. To make them stand up I added two layers of the 12mm Couture Creation Foam Mounting Tape. I stuck a small Couture Creations Gem in Seaspray in the centre of each doily. 

I completed my layout by adding a small scattering of embellishments and right at the end just to finish off I stuck down some clusters of Couture Creations Pearls in Moonlight. 


I hope you like my first offing here on the Couture Creations Blog, please share if you followed along and created a layout inspired by mine. See you next time. 

Couture Creations Products used today are:

CO723244 Ornamental Lace Dies, Elegant Motif
CO723711 Glamour Days Inticutz Dies, Classical
CO723547 12x12 Double Sided Paper Pad, Sew Jo
CO721985 Double Sided Tape, 6mm
CO721984 Double Sided Tape, 12mm
CO721964 Foam Mounting Tape, 12mm
CO723781 3D Foam Mini Dots
CO721955 Pointed Non-Stick Scissors
CO721954 LED Precision Tweezers
CO721957 15x15 Self Healing Cutting Mat
CO7211986 Handheld Essentials 3 Pack
CO721971 Glitzin Glamour, Crystalina
CO721989 Gemstones, Seaspray
CO721998 Pearls, Moonlight